Shipping using Distribution Lists
This topic describes how to ship a package using a distribution list.
Note: By default, Distribution Lists work with the Ship by Service mode. If you want to ship using a different mode, contact your sales representative.
- On the Shipping tab, click Shipping and Rating.
- Click the Distribution List button.
- Select the shipper's name from the Shipper drop-down list.
- Click the Ship Date box and select the ship date from the calendar.
- Select the payment terms from the Payment Terms drop-down list.
- If applicable, select the appropriate billing type check box (Third Party Billing, Bill Consignee Third Party, or Brokerage Third Party Billing).
- Select the distribution list from the Distribution List drop-down list.
- In the right panel, click the General tab and select the service you want from the Service list. (You can hold down the CTRL or SHIFT keys to select multiple services for rating.)
- In the Weight box, enter the package weight and select the weight unit from the drop-down list.
- Select the packaging type from the Packaging Type drop-down list.
- If applicable, click the Accessorials tab, select the appropriate button, and then select the appropriate check box(es).
- If applicable, click the Int'l tab and complete the required boxes.
- If applicable, click the Hazmat tab and complete the required boxes.
- If applicable, click the Reference tab and complete the required boxes.
- If applicable, click the LTL tab and complete the required boxes.
- If applicable, click the Visibility tab, select the appropriate notification button, and then select the appropriate check box(es).
- If applicable, click the Goods tab and add your commodities.
- Click Ship Distribution List. The Batch Details page displays.
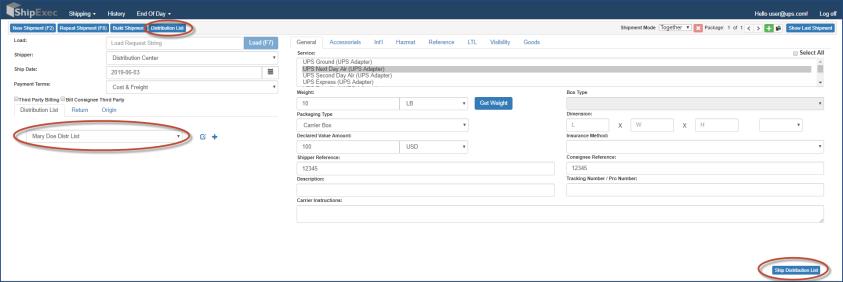
Note: If you have a scale attached to ShipExec, the Get Weight button is available.
Note: By default, your shipper and consignee reference will be the same for all shipments in the distribution list.
Note: When selecting Documents Only from the Int’l tab, commodity level information is not required.
Note: When selecting Documents Only from the Int’l tab, commodity level information is not required.
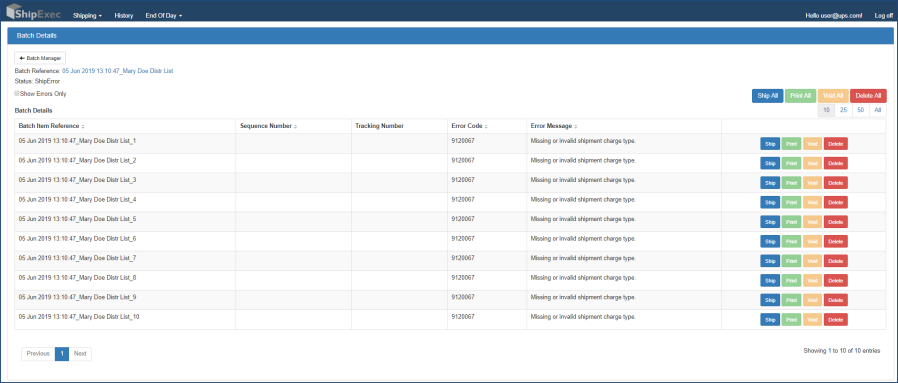
Note: If you have any errors, click on a specific batch item, correct the error, and then reship the item.
Note: The Distribution List will appear in the Batch Manager with a date/time stamp of the distribution list name.
Related Topics